Having everything now in place, it’s time to get the various software and configs installed and get things up and running. As all my virtual machines are based on VMware, I’ll start with the ESXi hosts, followed by the centralised storage later on.
Please note these are high level details on what I have done to stand up my environment, after the fact. I have used other resources to get certain tasks completed (no point in re-inventing the wheel) and I haven’t gone into much detail around the networking, other than to say that I’ve set up the router with a couple of vlans, and enabled forwarded traffic to my Apple base station on the house network – giving me Internet access outbound. It will also allow me to open any ports for testing when wanting to come in from the outside too.
ESXi Hosts
With both hosts being dual network interface connected, I’ve also connected an 8GB USB stick on each hosts’ internal board to install the OS, and readied another USB stick with the install software to boot from. With ESX needing very little overhead to run (one of its best features), this allows you to safely messagings round with your internal hard drives if you ever need to.
There are a lot of tutorials out there that can give you the step-by-step approach if you’re unfamiliar, one example is Virten.net’s post from 2014 – still suitable today. Essentially, prepare your boot USB using your ESX image, plug in and boot to USB. Then follow the install instructions – remembering to install to the smaller capacity onboard USB stick rather than one of your internal hard drives.
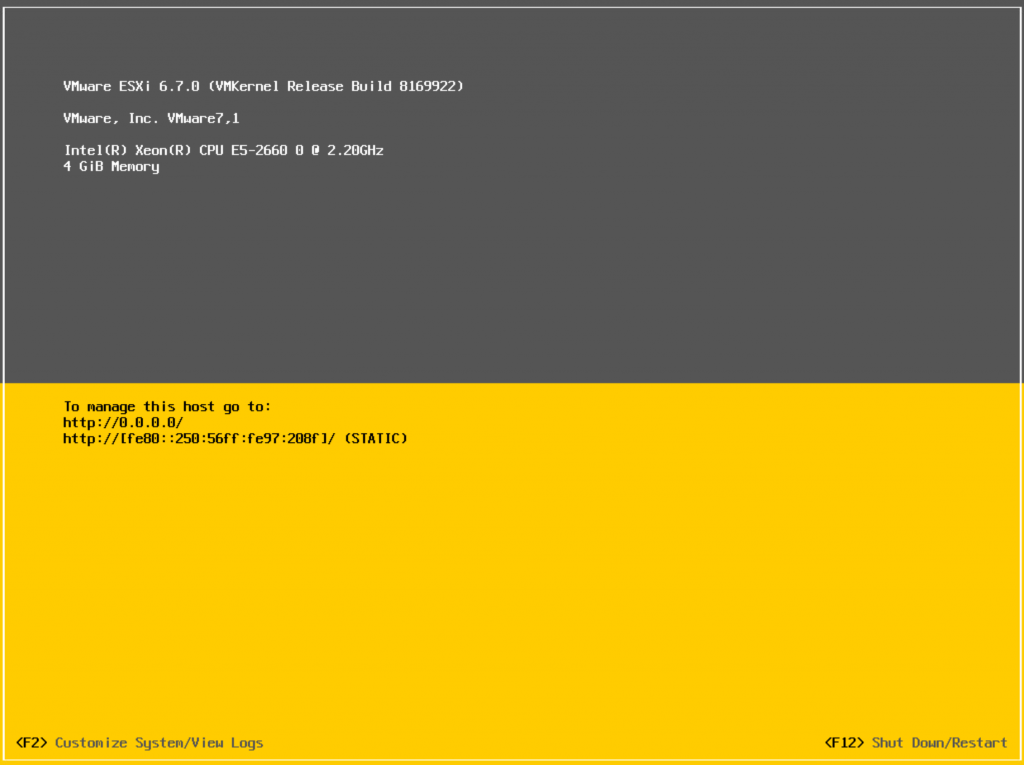
Once installed, you will be presented to the traditional yellow status page. At this point you will need to log in using your root account and password, and set your IP, mask and gateway, and if necessary any vlan tag for the management network. You can then test all is working by pinging your router and/or another device on your network.
Eat, sleep, plug-in USB on second host and repeat.
Domain Controller
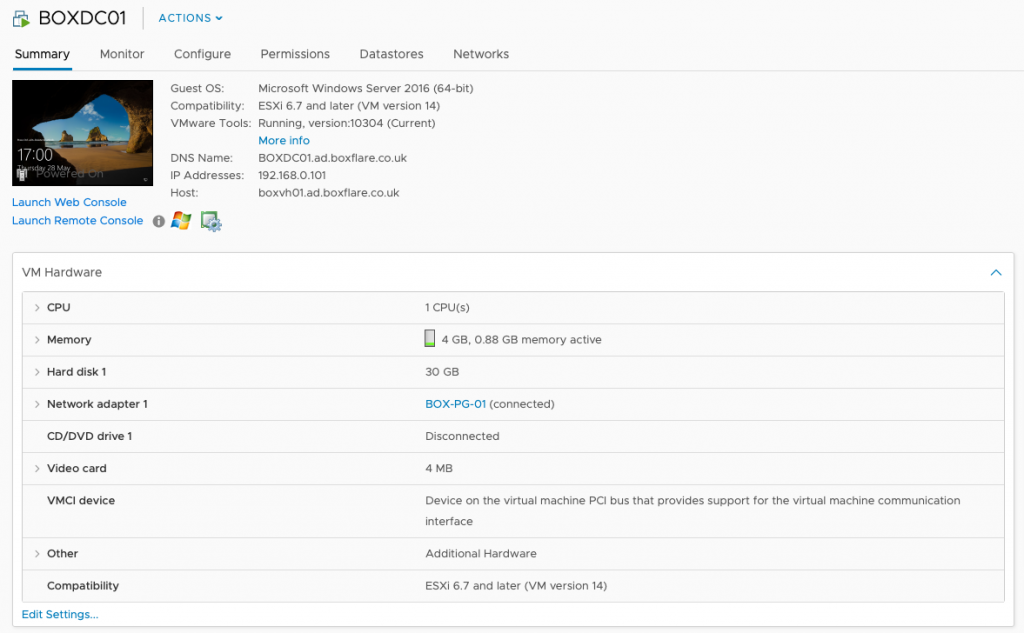
When you’re wanting to set up a half-decent home lab, one requirement that is going to be a necessity is a domain controller. Not only does this allow you to test functionality that will most likely be useful in your job, but with things like reverse DNS being imperative to a properly working VMware environment, this is going to be the second major item that I will build directly on one of the hosts.
There are several ways to do this: either via web browser directly on to your host; or via command-line. For this post, I connected via the web browser and installed using the familiar gui. I will write another post later on connecting via PowerCLI and programmatically installing the OS with various configurations.
(N.B. Just as a side, it’s a good idea to keep a track of the IP’s you will be using pithing your environment. Unless you are going to be using DHCP, then it’s beneficial to note down all IP’s that are statically assigned.)
Once you have your domain controller up and running, and have configured Active Directory and DNS (like before, there are plenty of resources on how to do this already), you are now in a position to create your vCenter and join your hosts accordingly.
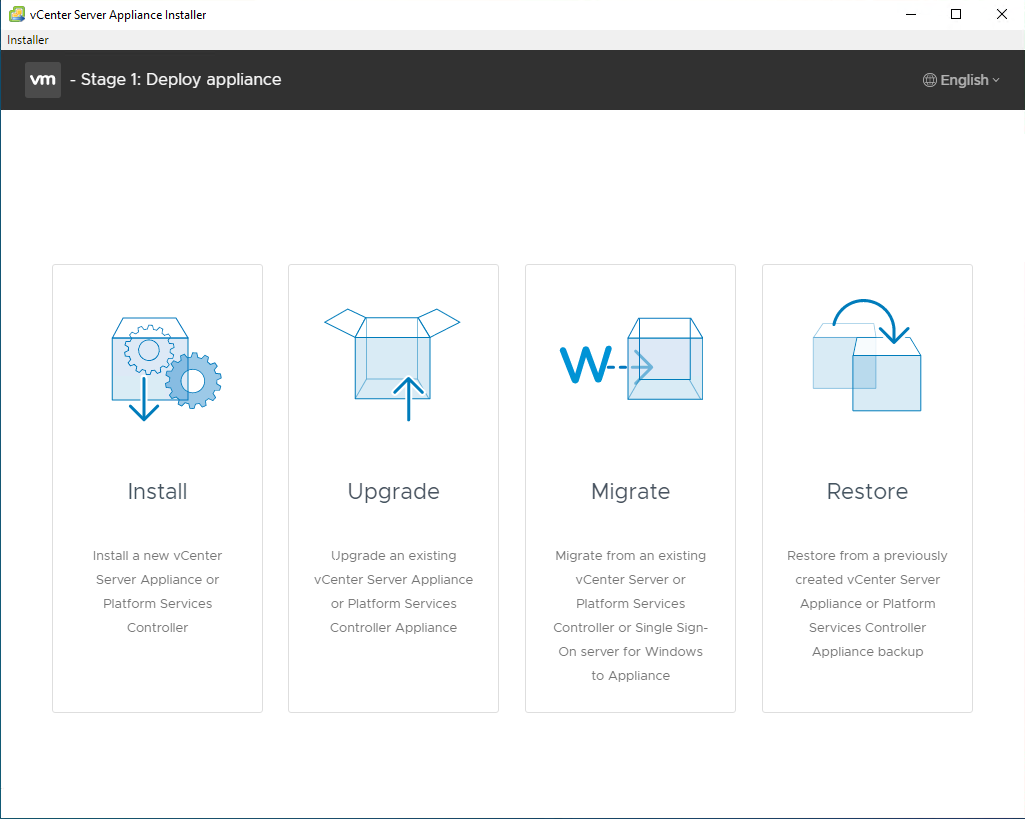
VCSA
The later versions of vCenter now allow you to use a vCenter Server Appliance (VCSA). Gone are the days of installing on an existing Windows server, and administration (certainly from v6.7) is now much better with the HTML5 interface giving you all the functionality. Depending on your version, you may have the ability to separate the Platform Controller from vCenter itself (Overview), but certainly in my home lab I will just be having everything under one roof.
With the VCSA installer mounted, you can browse to \vcsa-ui-installer\win32\installer and it will launch the setup wizard to deploy your appliance. Depending on your resources available, this may be a slightly lengthy affair for some, but it is self-explanatory. Ensure you have now created your DNS entries (with PTR records) for your appliance and hosts for when you join them to the domain.
When the installation has completed, and all the services have started, you can now connect via the web browser to your appliance and begin any further configurations. Joining to the domain, configuring time sources, creating the datacenter and cluster (with anything like HA you may want to test), and then finally joining your hosts to the cluster and importing your machines.
It is at this point you can also configure your virtual networking. You may decide to leave your hosts on virtual standard switches, or move them to distributed switches. Whichever your method, now is a good time to set up accordingly before you load your environment with test machines and have to play catch up later.
Storage
Finally, it is time to set up the centralised storage that I can share between my hosts. Having internal disks on each host is all fine and good for your virtual machines, but if you ever want to test HA, migrations etc. then you need some storage to share between those hosts.
As mentioned previously, I am using an old HP MicroServer for this job, and FreeNAS. Using existing hardware, saved me time and money in getting it up and running, and does the job with minimal hassle. My MicroServer had an existing 250GB drive (which I used for the OS), and a pair of 1TB disks which are configured in a mirrored pair – plenty of space for building, storing and deleting virtual machines along the way.
Again, I used MonsterMuffin’s tutorial to stand this up and get me on the way, configuring the pair of disks afterwards. When completed, you can connect your hosts from vCenter to the storage via standard iSCSI software adapters.
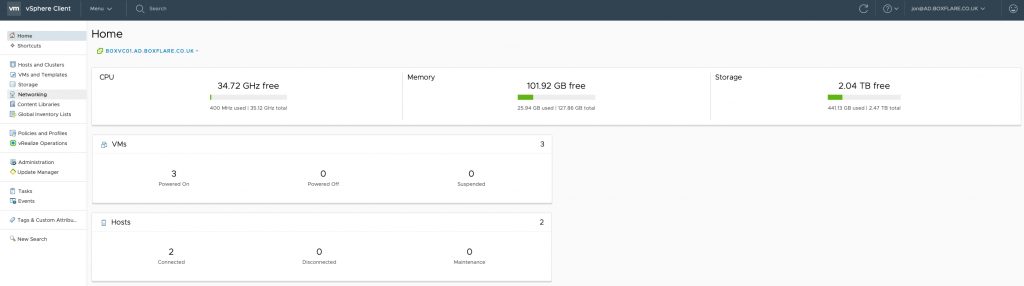

I now have a complete domain, VMware v6.7 cluster with two hosts, HA and distributed networking ready for me to test and learn new things. I can build, destroy, migrate and connect using any method I need to, without any damage to anyone else’s production environment! It also gives me the ability to link with my Azure subscription and test various cloud technologies and methodologies.
Happy Learning!
0